
Hey fellow farmers! 👋 Ever feel like you're spending more time watering your parsnips and petting your chickens than actually exploring the mines or hanging out with the townsfolk? Trust me, I've been there. But let me tell you a secret – the true joy of Stardew Valley in 2026 isn't just about farming; it's about watching your farm run itself like a well-oiled machine while you go off on adventures! 🚀 Automation isn't about making the game play itself; it's about unlocking your farm's full potential and freeing up your time for the fun stuff. Ready to transform your humble patch of land into a self-sustaining goldmine? Let's dive into my top automation strategies, from simple setups to absolute game-changers!
🍄 The First Taste of Freebies: Your Farm Cave
Remember when Demetrius shows up after you've earned 25,000g? That's your first step into automation! He'll ask: Fruit Bats or Mushrooms? 🤔 This isn't about saving labor, but about getting consistent, free resources without lifting a finger.
- Mushroom Choice: My personal pick! Since the v1.6 update, this comes with a free Dehydrator. Just imagine – mushrooms growing in boxes, and you can dry them immediately for a sweet artisan income stream early on. No planting, no watering, just profit!
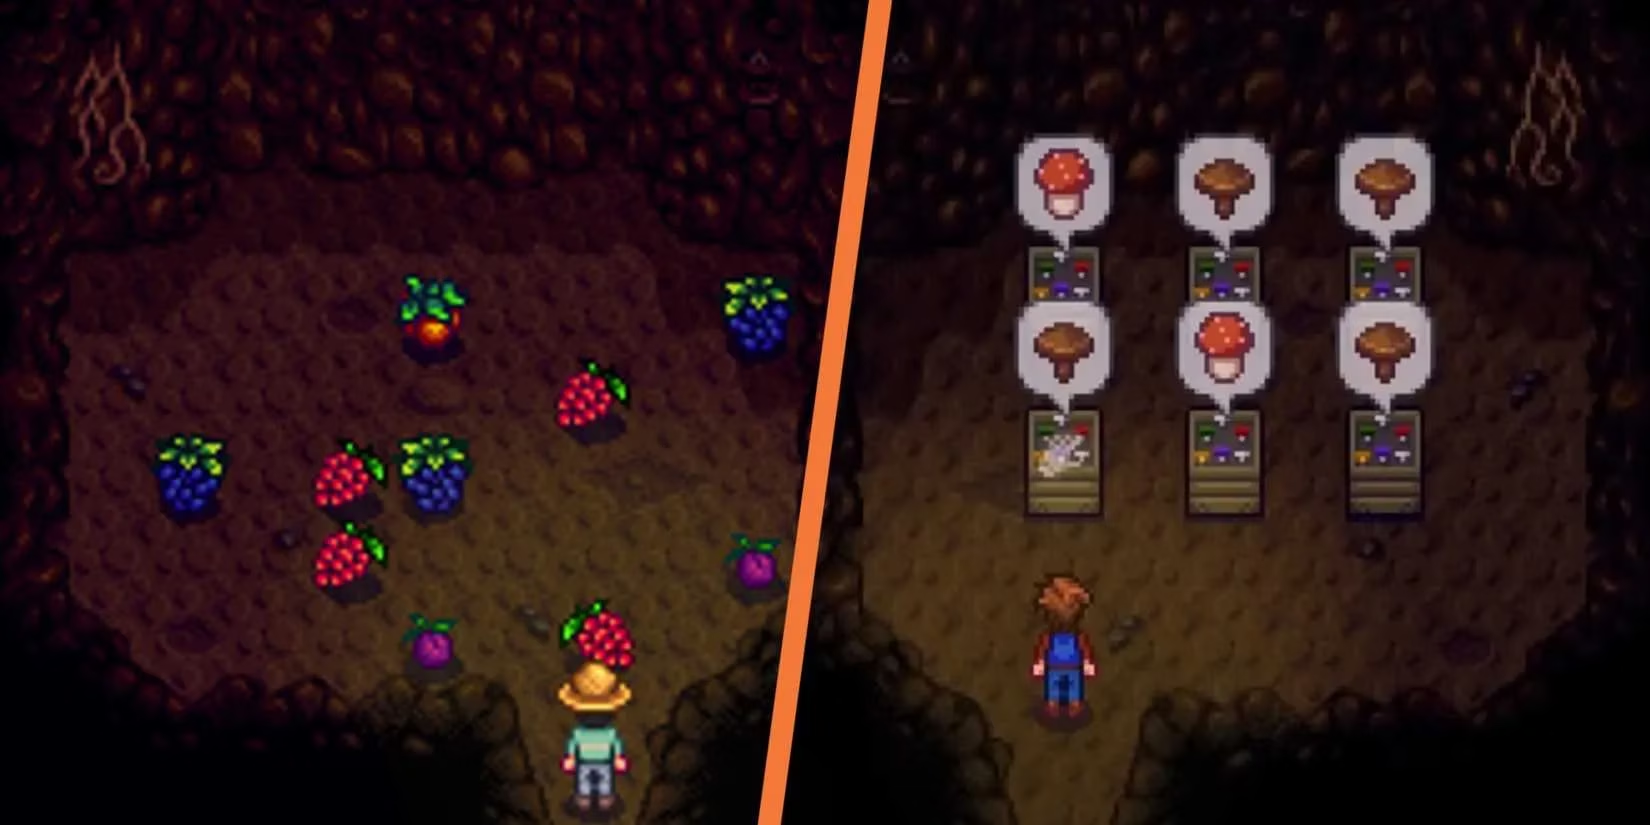
- Fruit Bat Choice: Random fruits dropping for you. Great for Community Center bundles and gifts!
Whichever you choose, it's your first taste of passive income. Set it and forget it!
🌳 The Kings of Passive Profit: Fruit Trees
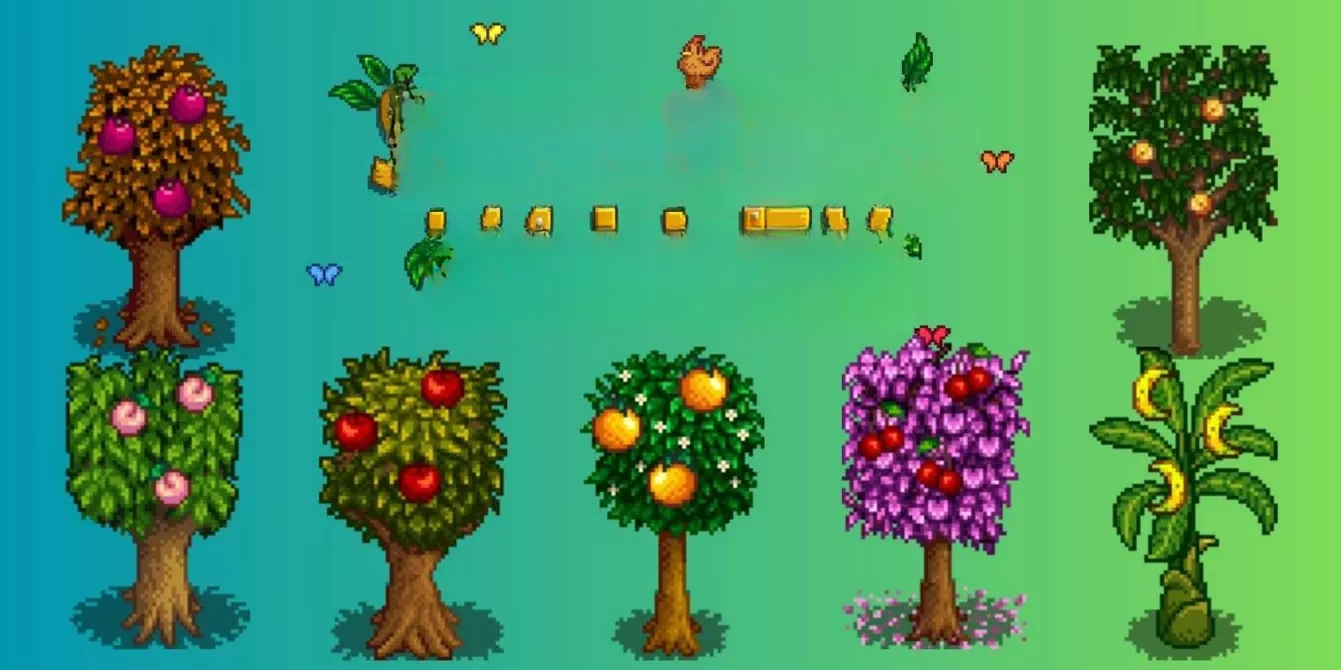
Is there anything more satisfying than planting a fruit tree and watching it produce season after season with ZERO maintenance? I think not! 🍎🍊🍑
-
Zero Effort: Once planted (with proper spacing!), they just... work. Fruit can even stay on the tree for three days before harvesting – perfect for when you're busy in the mines!
-
Profit Powerhouses: Fuel your artisan production (wine, jelly, dried fruit), make perfect gifts, and crush those tough Community Center bundles.
-
Pro Tip: Plant them in the Greenhouse or on Ginger Island for year-round production. It's an unstoppable goldmine!
🐟 Self-Sustaining Aquaculture: Fish Ponds
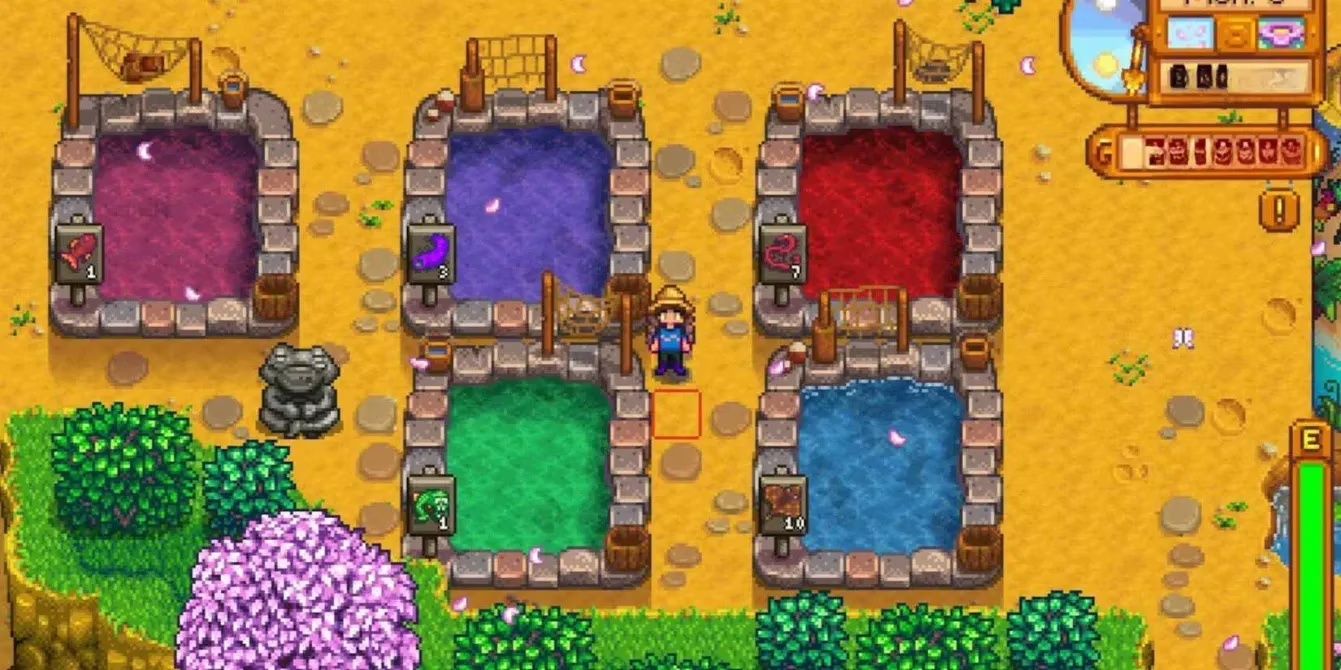
Want to diversify your income without daily chores? Turn a 5x5 space into a fish farm! 🐠
| Fish Type | Special Rewards | Best For |
|---|---|---|
| Sturgeon | Caviar ($$$) | High-end profit |
| Lava Eel | Spicy Eel, Magma Geodes | Combat buffs & mining |
| Blobfish | Pearls, Warp Totems | Rare items & mobility |
| Rainbow Trout | Prismatic Shard (rare!) | Luck & rare finds |
How it works: Stock a pond, complete a few quests by tossing in requested items (like Oak Resin or Diamonds), and watch your fish multiply. Every morning, check the chum bucket for roe, geodes, or even pearls! The day-to-day is super hands-off once set up.
🦀 Fishing Without the Fishing: Crab Pots
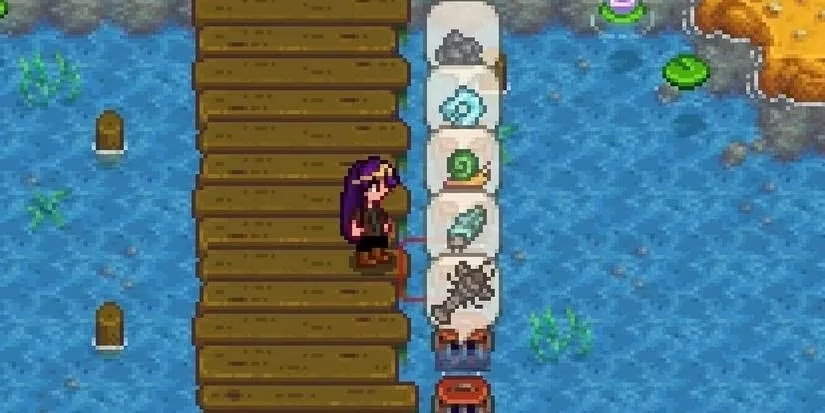
Love fishing rewards but hate the mini-game? Crab Pots are your best friend! 🎣
The Basic Setup:
-
Place pots in ANY water (ocean, river, lake, farm ponds)
-
Collect fish, shellfish, or... trash (sorry!) each morning
The REAL Automation: Unlock the Luremaster profession at Fishing Level 10! This completely removes the need for bait, turning crab pots into a true "set and forget" system. For farmers who'd rather be mining or romancing the townsfolk, this is non-negotiable!
🍷 The Artisan Game-Changers: Kegs & Preserves Jars
Want to multiply your crop profits? This is where the real money is made! 💰
Kegs vs. Preserves Jars – Which to use?
| Machine | Best For | Processing Time | Profit Multiplier |
|---|---|---|---|
| Preserves Jar | Low-value crops (berries, tomatoes) | ~2-3 days | 2x base value + 50g |
| Keg | High-value fruits (Starfruit, Ancient Fruit) | ~6-7 days | 3x base value |
Crafting Costs:
-
Keg: 30 Wood, 1 Copper Bar, 1 Iron Bar, 1 Oak Resin
-
Preserves Jar: 50 Wood, 40 Stone, 8 Coal
Load them up, wait a few days, and collect wine, juice, pickles, jelly, or caviar worth several times the base value. Serious farmers know: the right artisan layout turns harvests into pure profit with minimal effort!
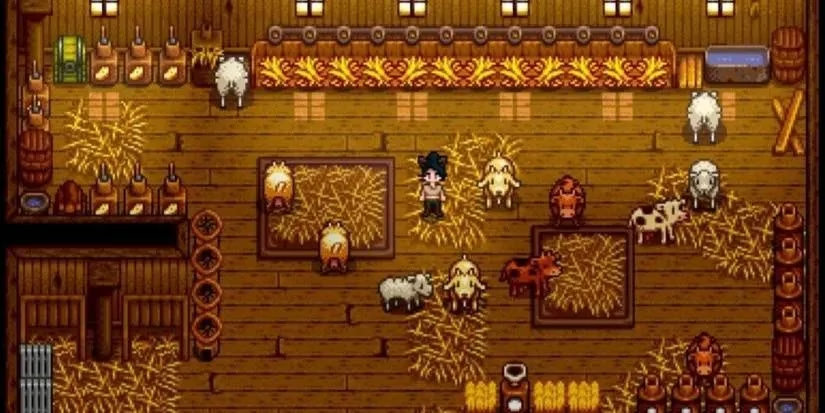
🐄 Animal Automation: The Holy Trinity
Managing animals can be time-consuming, but these three items change everything!
1. Auto-Petter: The Affection Machine
Petting dozens of animals daily? No thanks! The Auto-Petter does it for you every morning. Saves SO much time, especially with multiple barns/coops.
Catch:
-
Buy from JojaMart for 50,000g (steep!)
-
Rare loot drop otherwise
-
Note: Only gives 8 friendship points vs. 15 from manual petting
2. Deluxe Barns/Coops: The Autofeed System
Upgrading isn't just about space – it's about automation!
Costs:
-
Deluxe Coop: 20,000g, 500 Wood, 200 Stone (from Big Coop)
-
Deluxe Barn: 25,000g, 650 Wood, 300 Stone (from Big Barn)
The Autofeed System pulls hay from your Silos automatically each morning. Just keep those Silos stocked (cut grass or buy from Marnie), and your animals are fed without you lifting a finger!
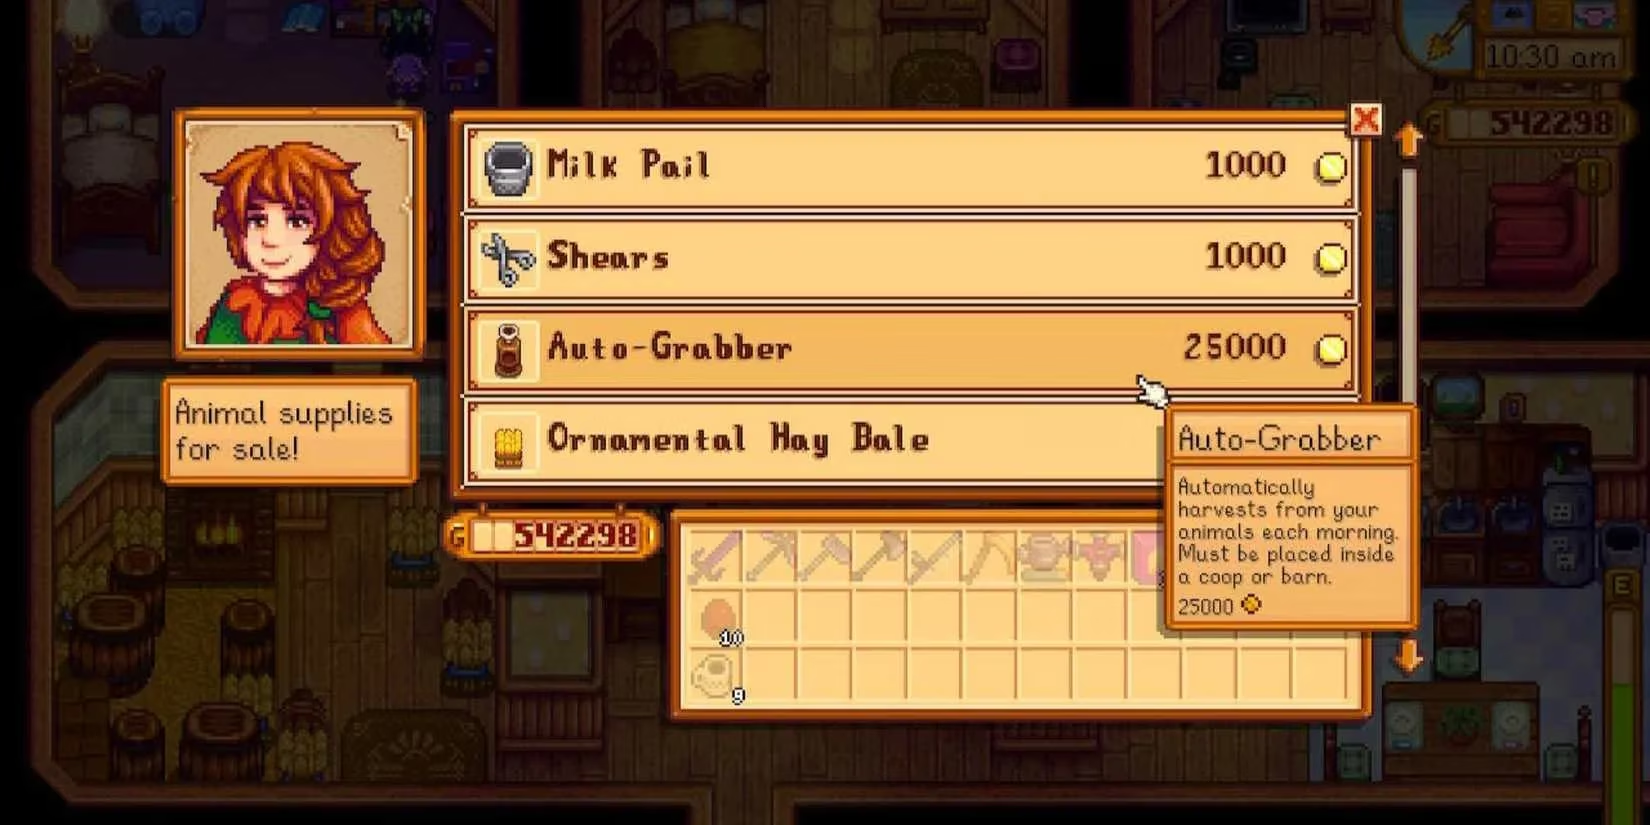
3. Auto-Grabber: The Collection Revolution
Farming Level 10 unlocks this game-changer from Marnie's Ranch (25,000g). Place it in a barn/coop, and it automatically collects:
-
Eggs 🥚
-
Milk 🥛
-
Wool 🐑
-
And more!
Trade-offs to know:
-
Doesn't collect truffles from pigs (they spawn outside)
-
No Farming XP from collected items
-
No +5 friendship from manual collection
But honestly? The time saved is worth it for large operations!
💦 The Backbone of Every Farm: Sprinklers
Without question, sprinklers are THE most transformative automation tool. Watering crops manually? In 2026? Please! 😂
Sprinkler Comparison Chart:
| Type | Materials Needed | Coverage | Best Use |
|---|---|---|---|
| Basic | 1 Copper Bar, 1 Iron Bar | 4 adjacent tiles | Early game, small plots |
| Quality | 1 Iron Bar, 1 Gold Bar, 1 Refined Quartz | 8 adjacent tiles | Mid-game expansion |
| Iridium | 1 Gold Bar, 1 Iridium Bar, 1 Battery Pack | 24 tiles in 5x5 area | Late game, mega-farms |
Once placed, they're maintenance-free! Want to go further? Add Pressure Nozzles to expand coverage or Enrichers to automate fertilizer application. For year-round high-value crops in the Greenhouse, iridium sprinklers are non-negotiable!
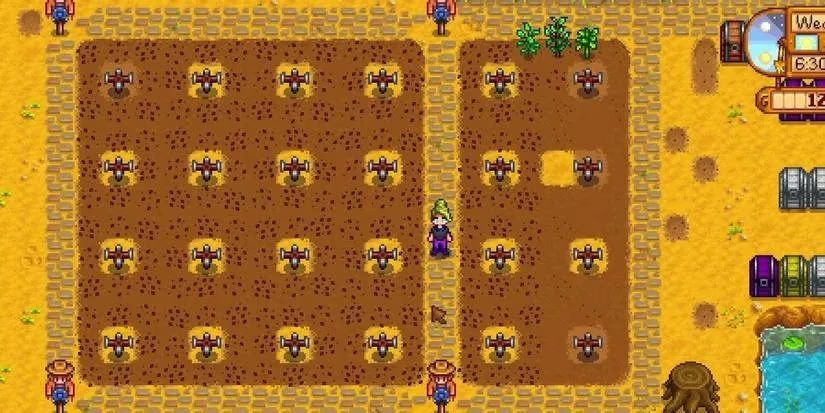
🧚♂️ The Ultimate Automation: Junimo Huts
Drumroll please... 🥁 The crown jewel of Stardew Valley automation! Unlocked after completing the "Goblin Problem," Junimo Huts bring magical helpers to your farm.
Why they're incredible:
-
Junimos harvest ALL mature crops each day
-
They deliver everything to a central bin
-
They can pass through trellis crops (unlike you!)
-
Place raisins in the hut for a 20% chance of DOUBLE harvests! 🎉
The time saved on large fields, especially with regrowing crops like blueberries or cranberries, is MONUMENTAL. Pair Junimo Huts with Iridium Sprinklers, and you've got a farm that practically runs itself while you're off fishing, mining, or dating every bachelor in town!
🏆 My Personal Automation Tier List (2026 Edition)
Here's how I rank these automation methods:
S-Tier (Game-Changers):
-
🥇 Junimo Huts (obviously!)
-
🥈 Iridium Sprinklers
-
🥉 Auto-Grabber + Auto-Petter Combo
A-Tier (Essential Time-Savers):
-
Kegs & Preserves Jars
-
Deluxe Barn/Coop Autofeed
-
Fish Ponds
B-Tier (Great Passive Income):
-
Fruit Trees
-
Crab Pots (with Luremaster)
-
Farm Cave
💡 Final Thoughts & Pro Tips
Building an automated farm doesn't happen overnight, but the journey is so rewarding! Here's my advice:
-
Start Small: Begin with sprinklers and artisan machines
-
Prioritize: Focus on what takes you the most time each day
-
Combine Systems: Junimo Huts + Iridium Sprinklers = perfection
-
Don't Forget Fun: Automation should give you MORE time for mining, fishing, and socializing!
Remember, automation in Stardew Valley isn't about skipping the game – it's about enhancing your experience. You get to design systems, optimize layouts, and watch your creation thrive while you enjoy all the other aspects of valley life.
What's your favorite automation method? Have you achieved the fully automated dream farm? Share your setups below! 👇 And if you found this guide helpful, save it for your automation journey! Happy farming, everyone! 🌟
Comments